Step to create Java servlet and add Hibernate ORM
Open Intellij select “Create New Project”
i will try to show you every screens step by step keep you easy to follow.

Select “Create from archetype” and scroll down and select “org.apache.maven.chrcetypes:maven-archetype-webapp”, then “Next”

This is setup project information, this this tutorial i create project name is “example” , and GroupId “com.tabvn” , you can rename those to matching your project. then “Next”

Now confirmation your project information, if every thing is correct, let click “Finish”, it take couple seconds for generate new maven project.

After finishing project generation . Here is what is project files struct look like. Now we need install Tomcat to Run the project while development.

Setup TomCat
we need setup Tomcat it allow running project directly in IDE.
From left top corner of IDE click “Preferences”.

Select Tab “Plugins” and search for “TomCat” make sure it is already install. If no you need install it.
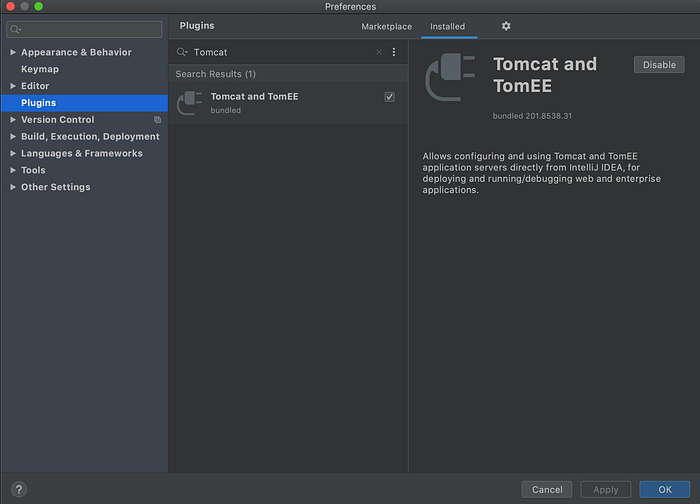
If you already installed Tomcat plugin. Then click “OK”.
From right corner of IDE, click to “Add Configuration”.
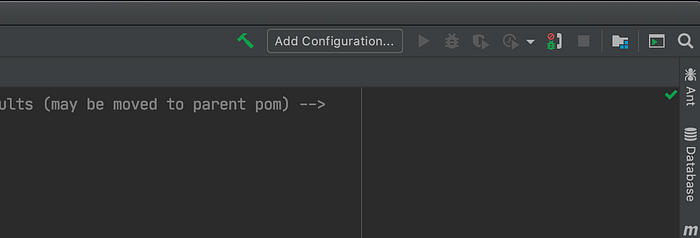
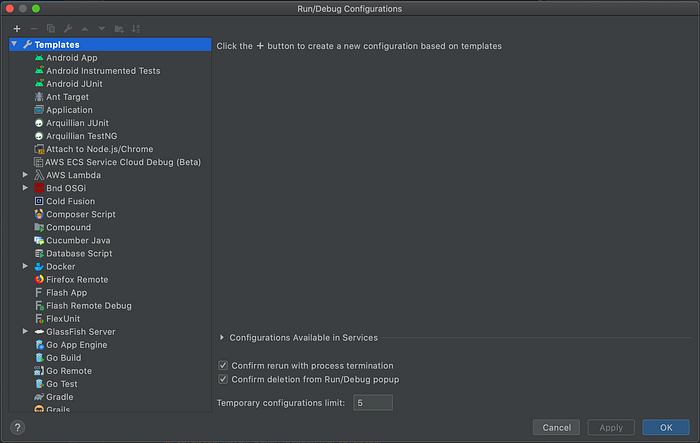
New window popup, then click to “+” to add configuration.
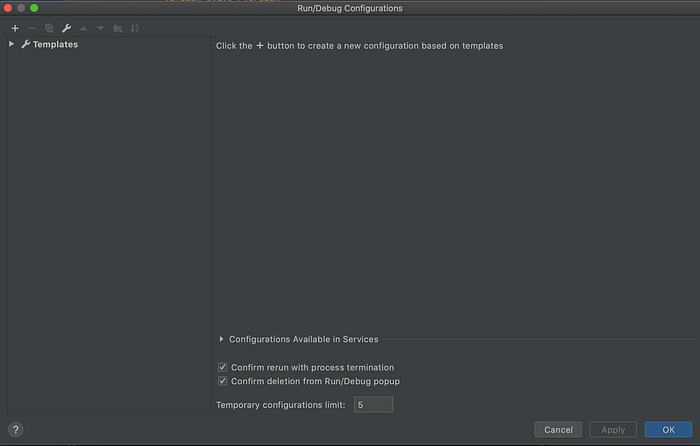
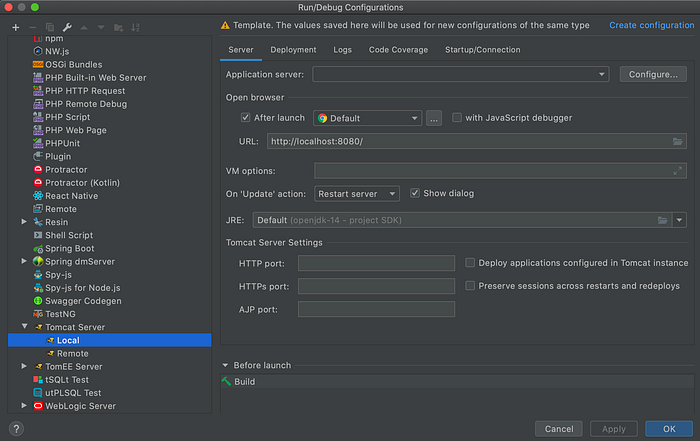
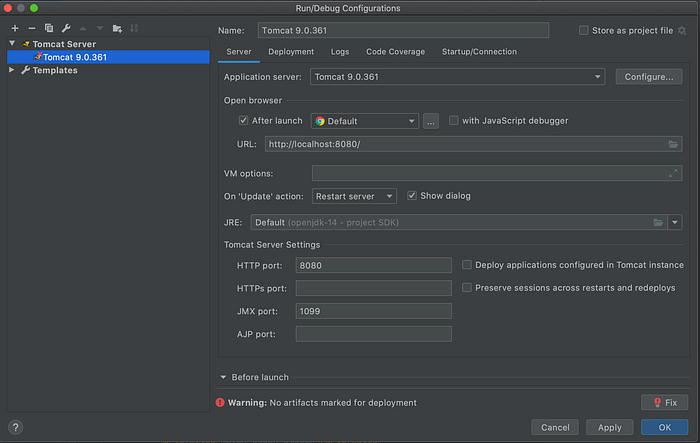
Scroll down to the bottom in left menu you can find “Tomcat Server” then select “Local”, new configuration panel will show like bellow screenshot.
In application Server, that is folder where you did download tomcat and extract. You can donwload Tomcat version 9 here (or newest version). and extract that file. now click to “Configure”
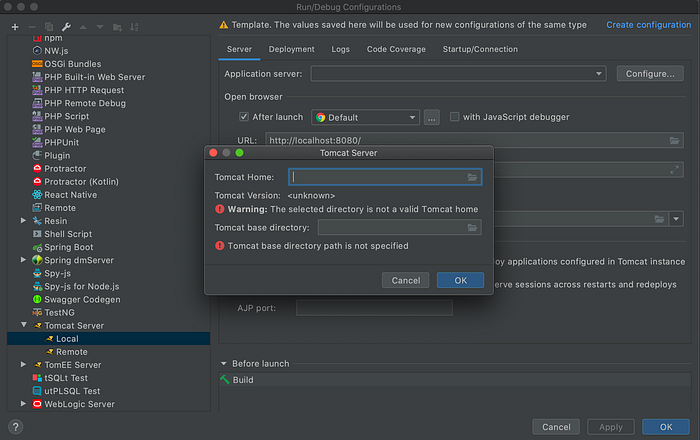
Now popup now we need select where tomcat we just download from last step. Line “Tomcat Home” click icon folder
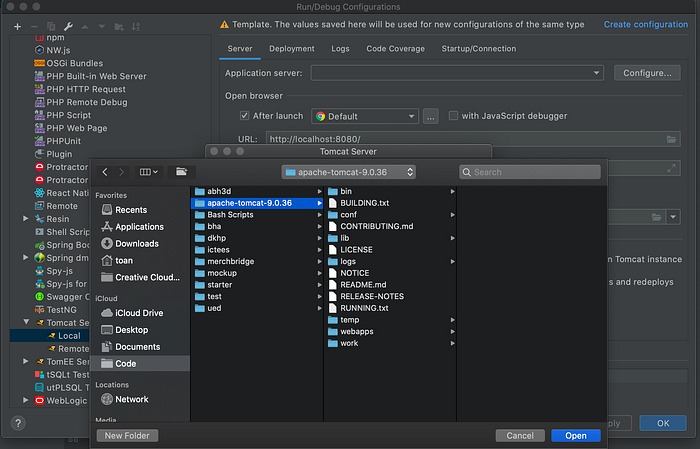
Select folder we extract tomcat. and then click “Open”
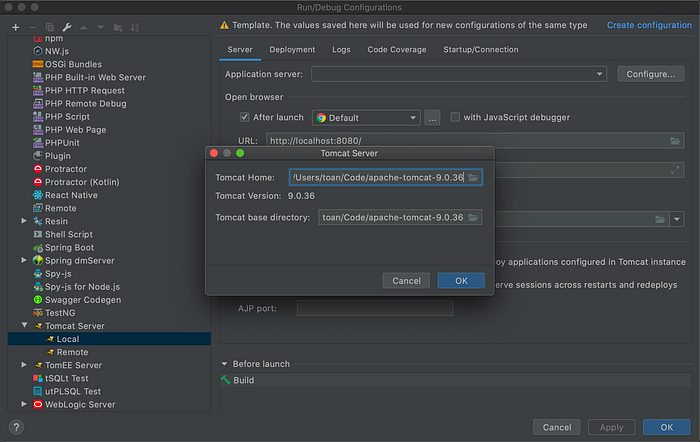
Now click “OK”
Close that popup by click ok. Nothing configure to the project. but we did install Tomcat correctly. Now click “Add configuration” again.
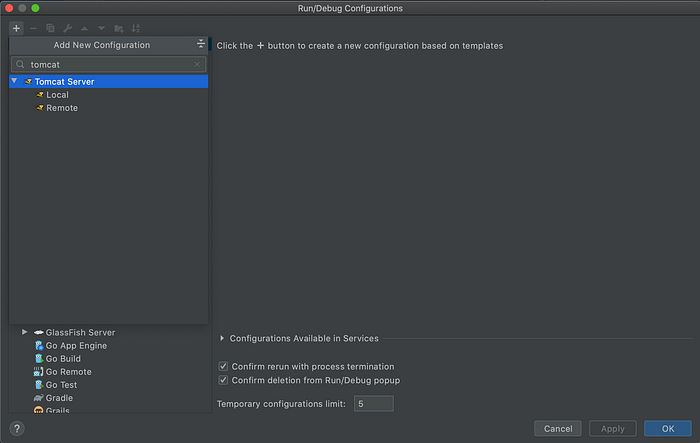
Click “+” Search for “Tomcat”
Now click to “Local”
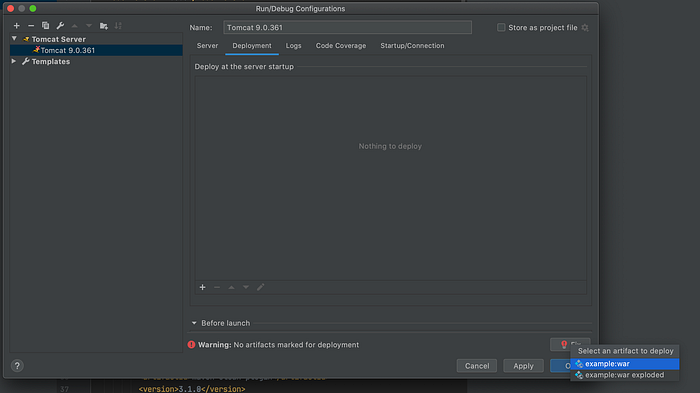
Now click to “Fix” red button at the bottom near “OK”
Select name of your “[name of your project]:war” then click “Apply” and “Ok”
We are done to configure “Tomcat” now click to icon play to run the project
If you are on mac os you can see this error
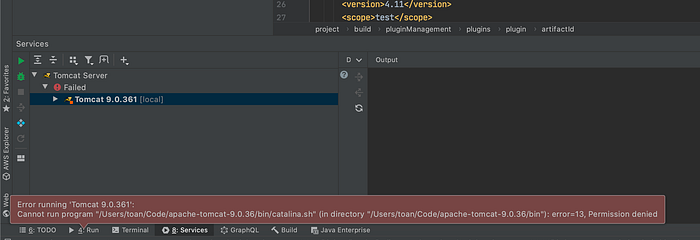
to that that error we need to give permission to able run shell file
in my project shell file is in folder tomcat we did download and extract
“/Users/toan/Code/apache-tomcat-9.0.36/bin/catalina.sh” you need to change that path to match your tomcat folder you did download and extract before.
open terminal
chmod u+x /Users/toan/Code/apache-tomcat-9.0.36/bin/catalina.sh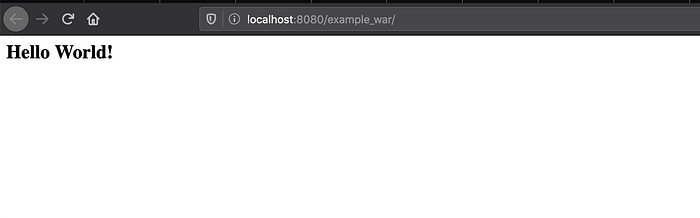
Run project again you can see this page open in browser that is good we finishing setup Tomcat and serve the project while development.
Configure New servlet
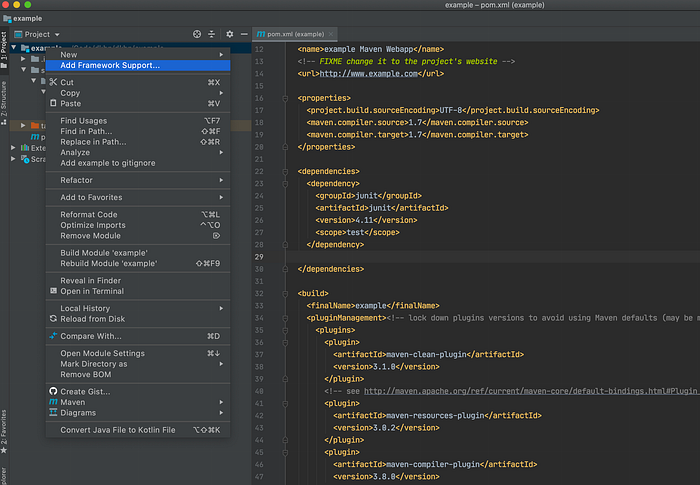
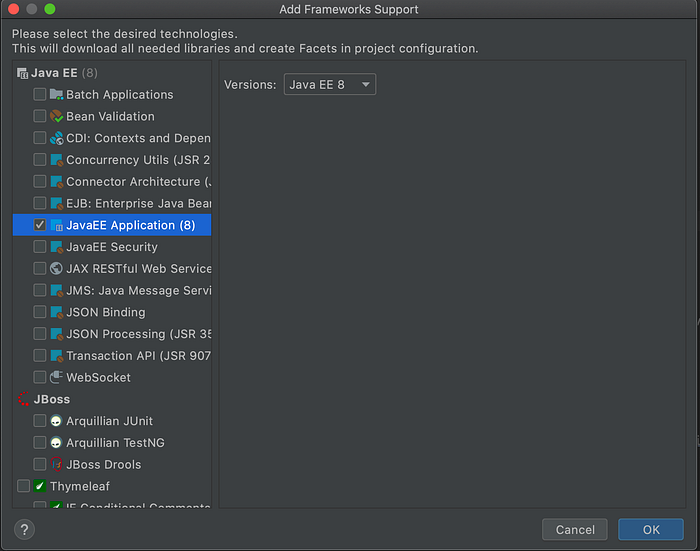
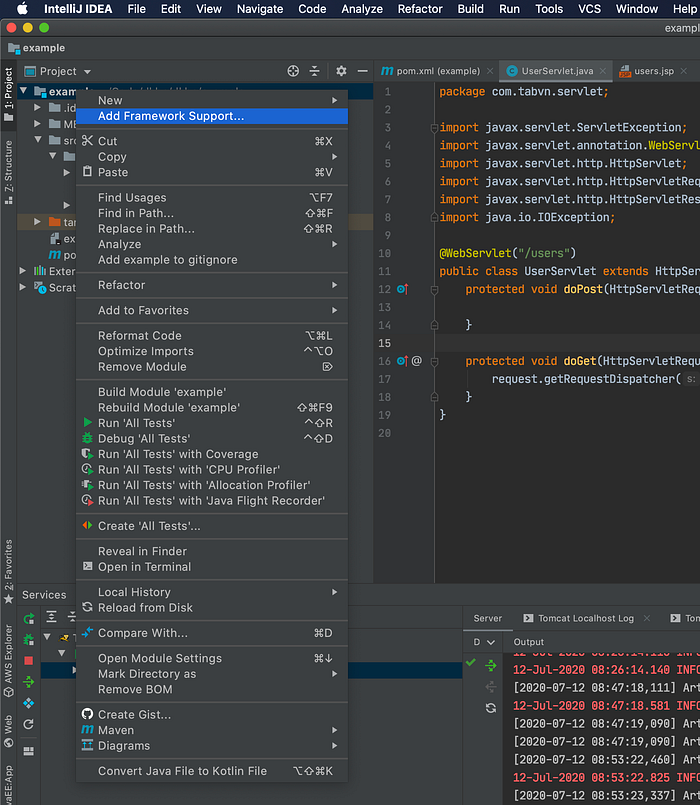
Right click on your project name and select “Add Framework Support…”
Then select JavaEE Application -> click “OK”
Open your “pom.xml” and you need adding following dependence modules
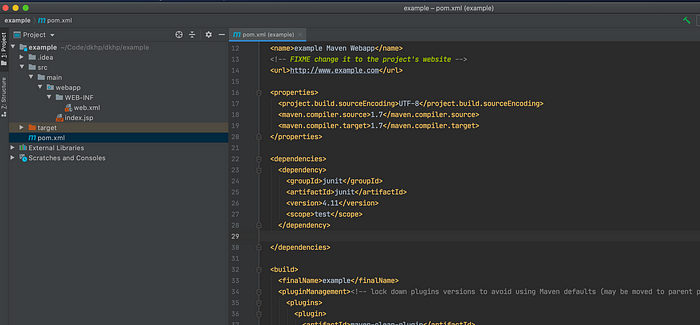
Copy bellow code and insert before “</dependencies>”
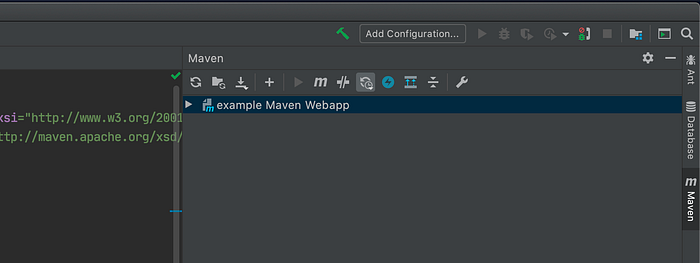
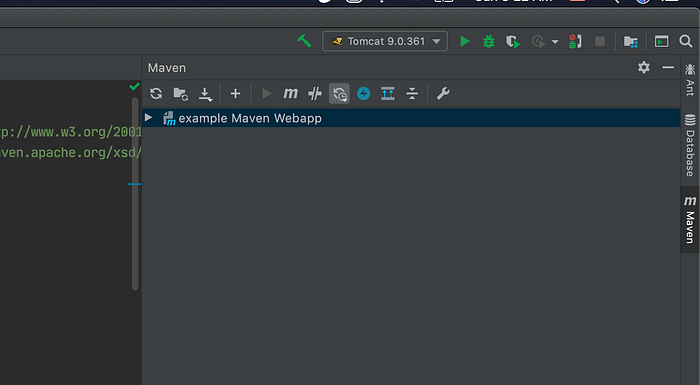
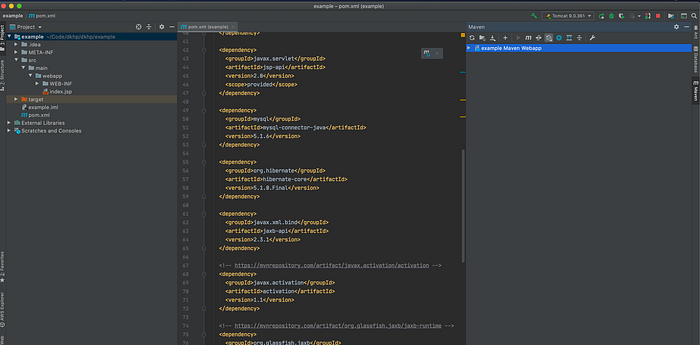
Open “Maven” in right sidebar and click to refresh icon to sync new modules.
Right click to “main” folder and add new folder
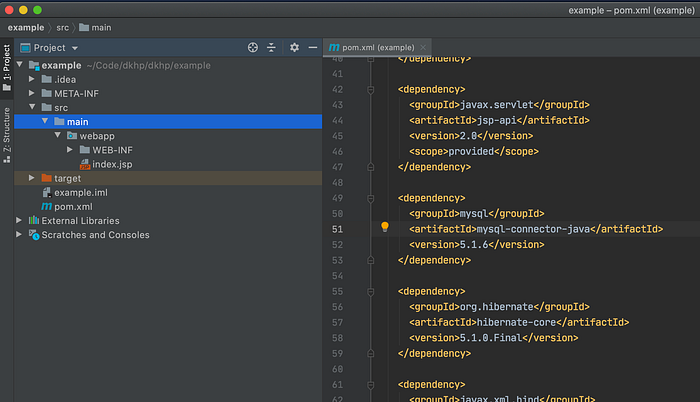
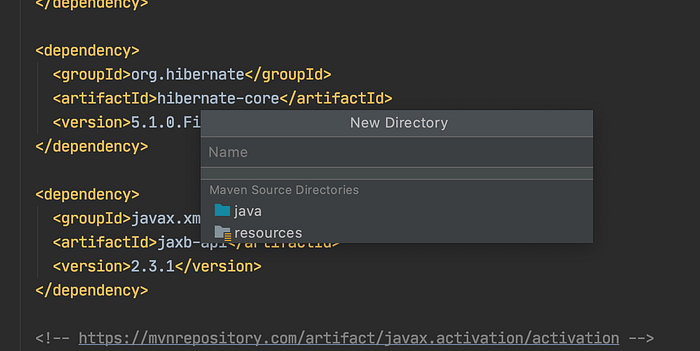
Add new “Directory”
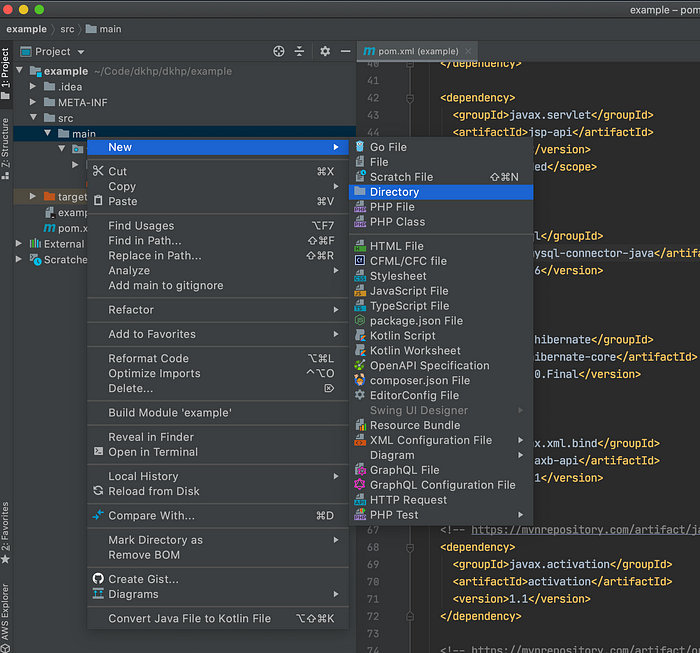
Select “java”
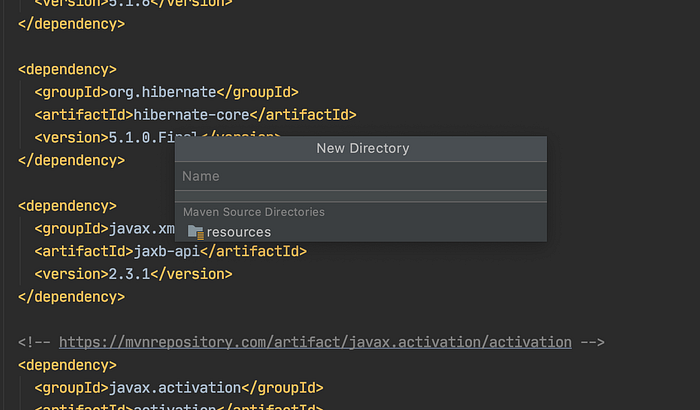
One more time and this time add “resources”
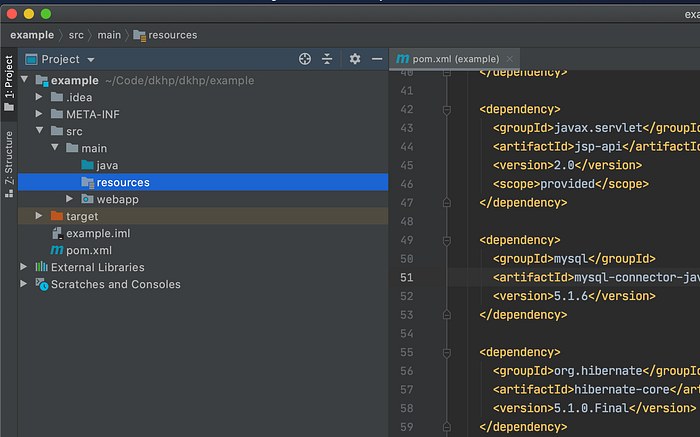
Here is what is folder struct look like.
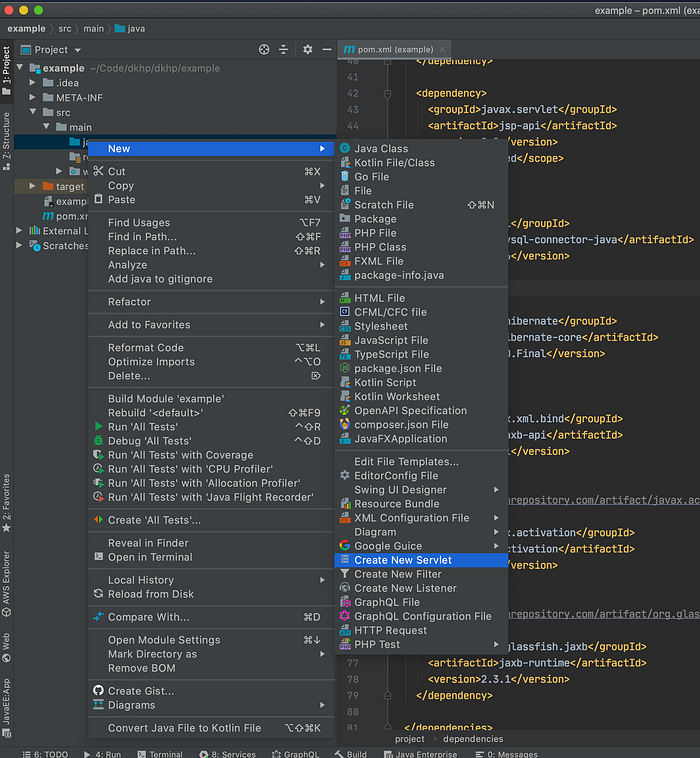
Right click on “java” folder and then “Create New Servlet”
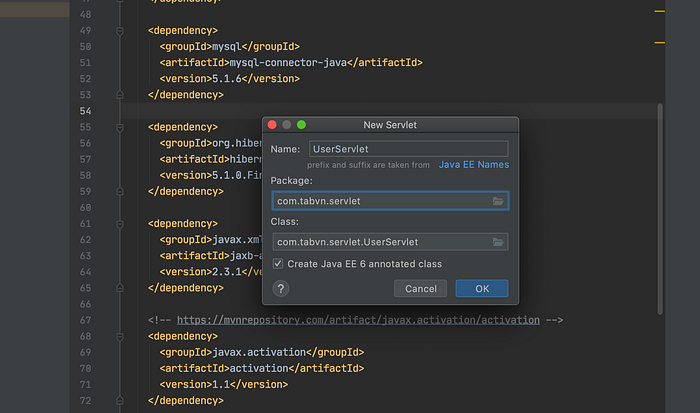
Enter configure for new Servlet recommend name: “[new]Serverlet”
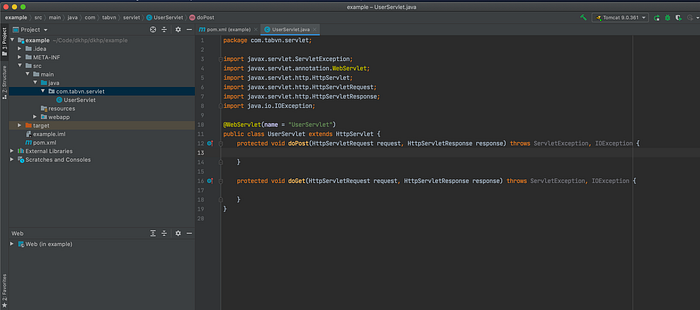
After click “Ok” this is new servlet file we have. we have to function setup that is doPost, and doGet. Inside doPost that is use for serve post data from form. to display information we now handle within doGet to send user web page.
remember change “@WebServlet(name = “UserServlet”)” to “@WebServlet(“/users”)”
Here is example of users
package com.tabvn.servlet;
import javax.servlet.ServletException;
import javax.servlet.annotation.WebServlet;
import javax.servlet.http.HttpServlet;
import javax.servlet.http.HttpServletRequest;
import javax.servlet.http.HttpServletResponse;
import java.io.IOException;
@WebServlet("/users")
public class UserServlet extends HttpServlet {
protected void doPost(HttpServletRequest request, HttpServletResponse response) throws ServletException, IOException {
}
protected void doGet(HttpServletRequest request, HttpServletResponse response) throws ServletException, IOException {
response.getWriter().println("Hello Users!");
}
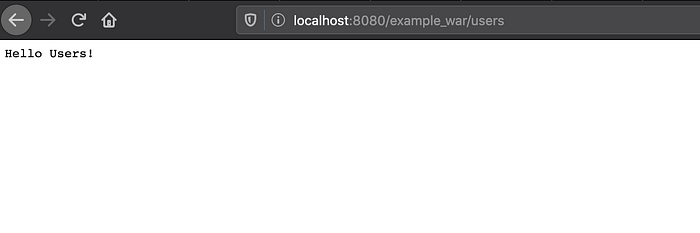
}ReRun the project and we adding /users to url path you can see “Hello Users!”
Setup Servlet templates JSP
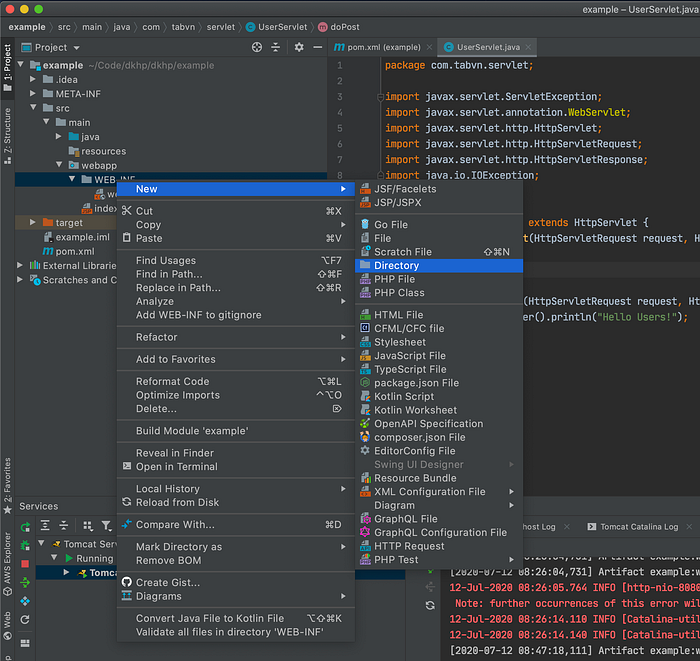
right click on “Web-INF” and we create new directory name is “templates”
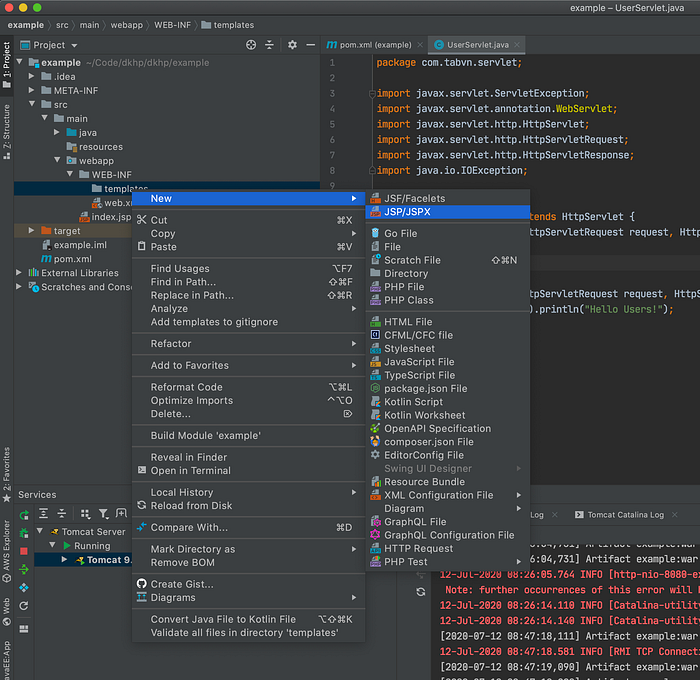
Then create new template file “users.jsp”
<%--
Created by IntelliJ IDEA.
User: toan
Date: 7/12/20
Time: 8:51 AM
To change this template use File | Settings | File Templates.
--%>
<%@ page contentType="text/html;charset=UTF-8" language="java" %>
<html>
<head>
<title>Users</title>
</head>
<body>
<h1>Page Users</h1>
</body>
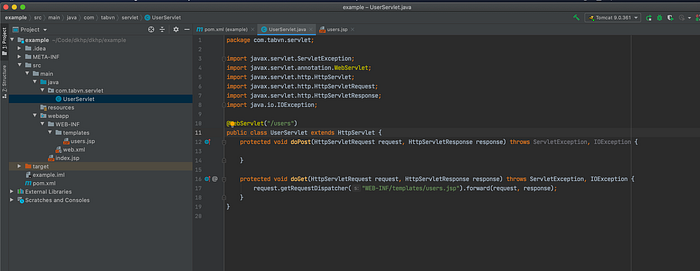
</html>Then we do need update our servlet file “UserServlet” to use our template with the code bellow.
package com.tabvn.servlet;

import javax.servlet.ServletException;
import javax.servlet.annotation.WebServlet;
import javax.servlet.http.HttpServlet;
import javax.servlet.http.HttpServletRequest;
import javax.servlet.http.HttpServletResponse;
import java.io.IOException;

@WebServlet("/users")
public class UserServlet extends HttpServlet {
    protected void doPost(HttpServletRequest request, HttpServletResponse response) throws ServletException, IOException {

    }

    protected void doGet(HttpServletRequest request, HttpServletResponse response) throws ServletException, IOException {
        request.getRequestDispatcher("WEB-INF/templates/users.jsp").forward(request, response);
    }
}
Add Hibernate ORM
hibernate is great ORM for java we can mapping our database table into each model and easy get/delete/update/list
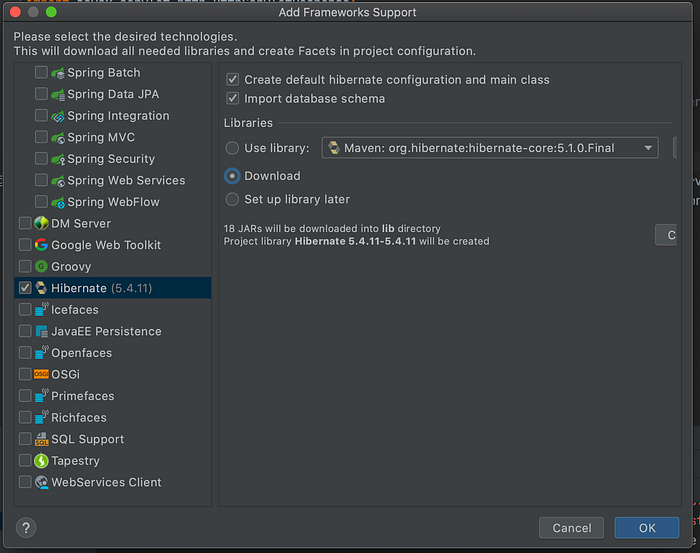
right click on project and “Add Framework Support”
scroll down the left menu and select “Hibernate” if you dont have “Hibernate” plugin you can setup this plugin.
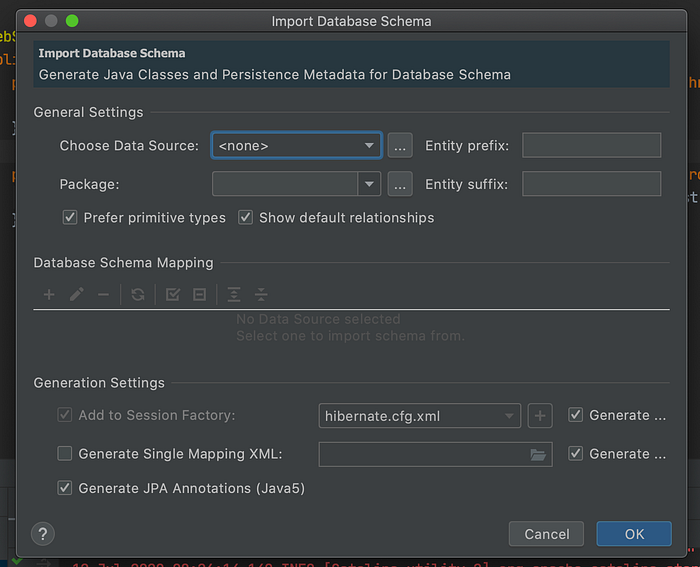
This is step to mapping and generate entity class from exiting database. We do need config datasource. line “Choose Data Sources” click to “…” and setup
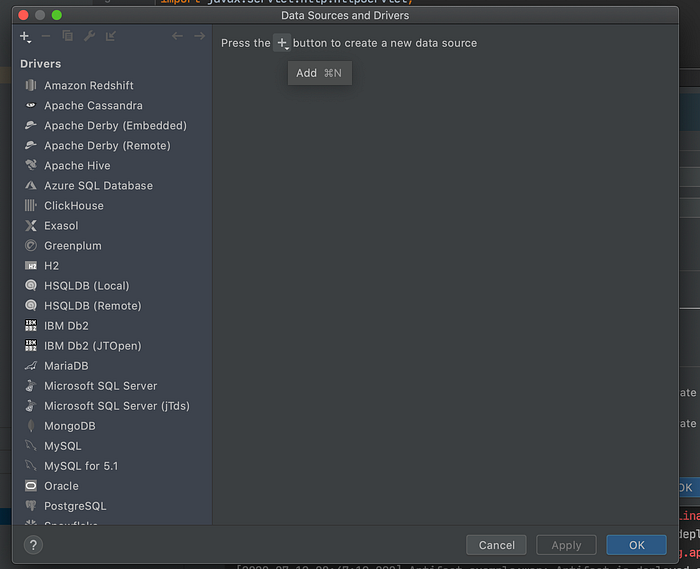
click “+” in right panel.
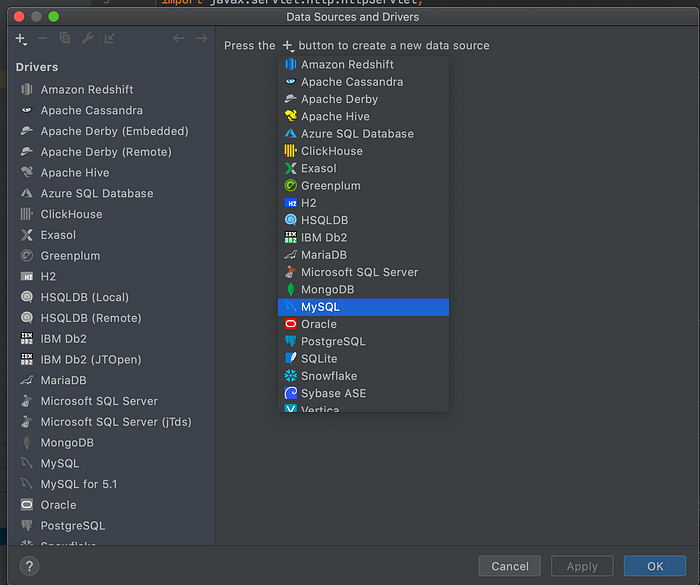
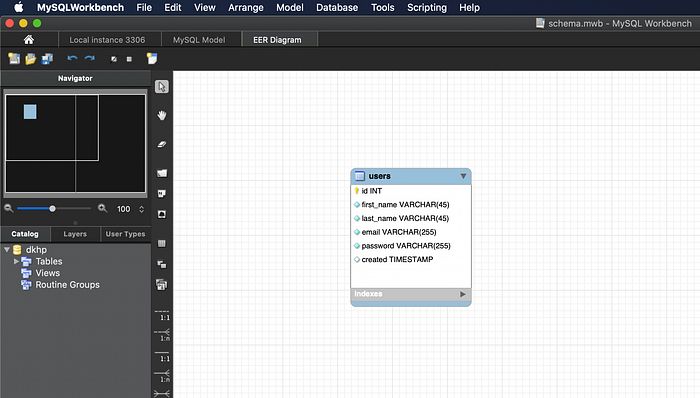
In this tutorial i use MYSQL and i have create new database name is “dkhp” with just only one table “users”
here is sample of “users” table i did create use “MYSQL workbench”
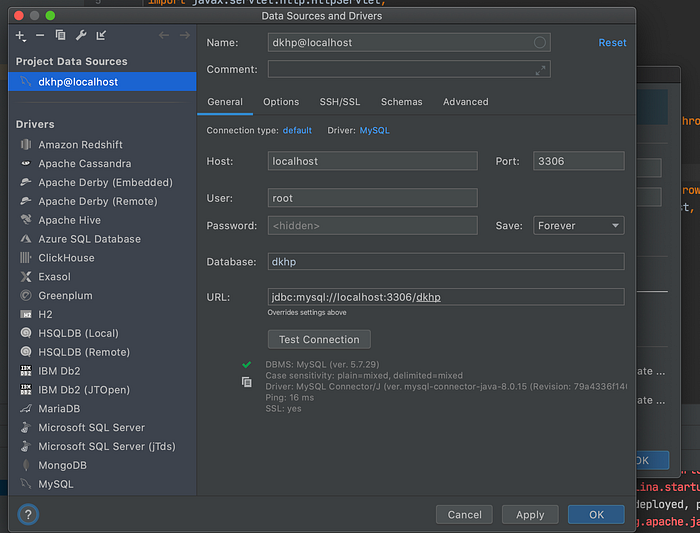
after configuration done we have datasource and select in this sample i use my own datbase name is “dkhp”
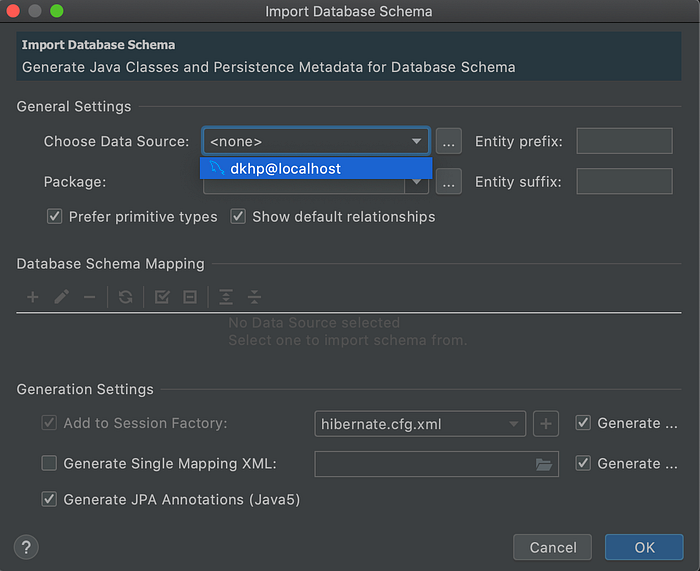
configure with information bellow and click ok we have entity generated. We have more table will have more entity generated.
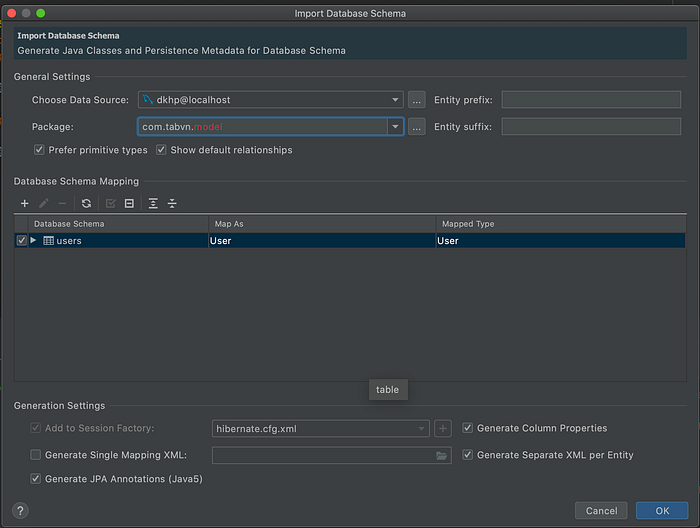
now click “OK”.

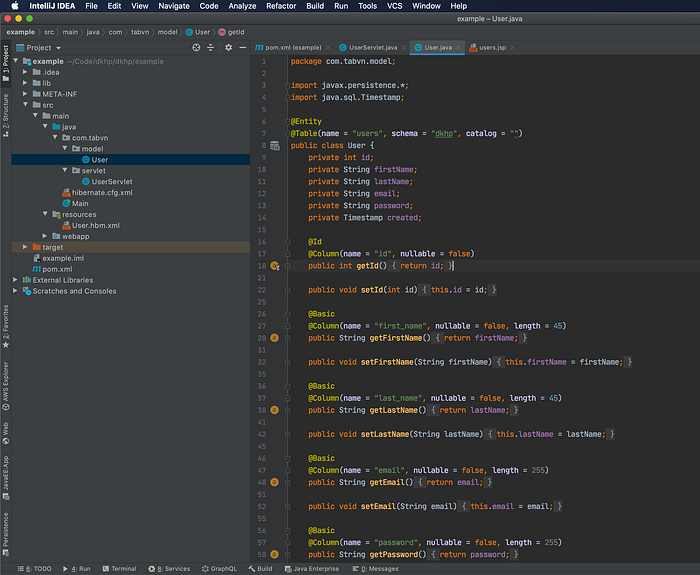
Click “Yes” then we see model generated like this.
Fix hibernate.cfg.xml
this is default if hibernate config but we need to correct it
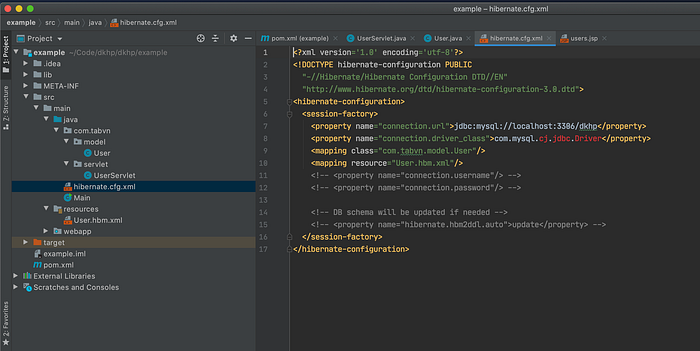
we need move that file into “resources” folder

with following content
remember those info need change and matching to your project
<mapping class="com.tabvn.model.User"/>
  <mapping resource="User.hbm.xml"/><?xml version='1.0' encoding='utf-8'?>
<!DOCTYPE hibernate-configuration PUBLIC
 "-//Hibernate/Hibernate Configuration DTD//EN"
 "http://www.hibernate.org/dtd/hibernate-configuration-3.0.dtd">
<hibernate-configuration>
 <session-factory>
  <property name="connection.url">jdbc:mysql://localhost:3306/dkhp</property>
  <property name="connection.driver_class">com.mysql.jdbc.Driver</property>
  <property name="connection.username">root</property>
  <property name="connection.password">root</property>
  <property name="hibernate.hbm2ddl.auto">update</property>
  <mapping class="com.tabvn.model.User"/>
  <mapping resource="User.hbm.xml"/>
 </session-factory>
</hibernate-configuration>
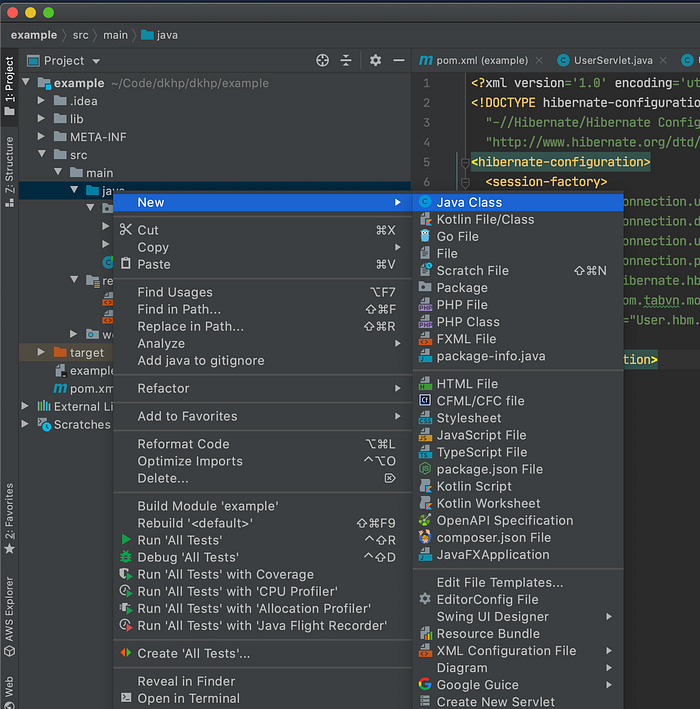
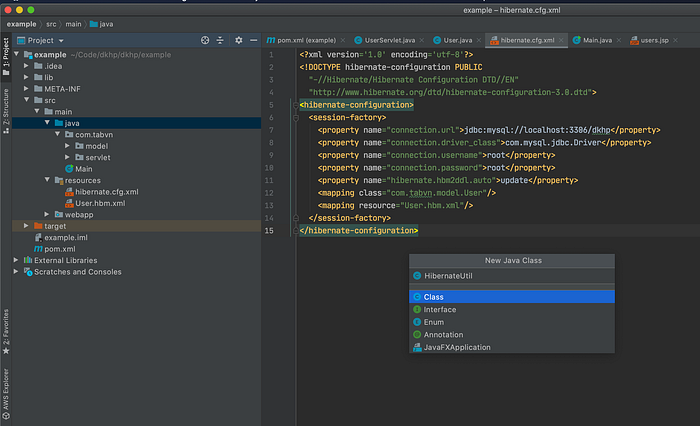
Right click to “java/com.tabvn” and create new class “HibernateUtil”
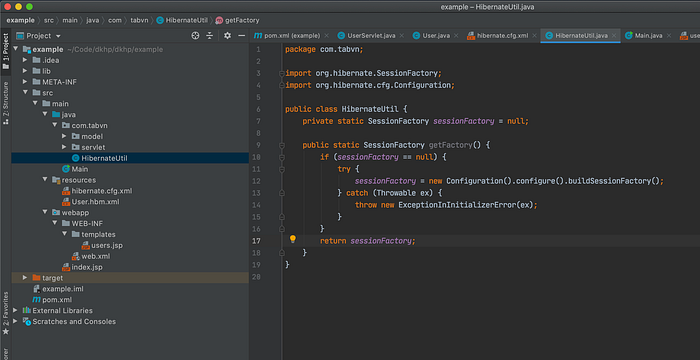
package com.tabvn;

import org.hibernate.SessionFactory;
import org.hibernate.cfg.Configuration;

public class HibernateUtil {
    private static SessionFactory sessionFactory = null;

    public static SessionFactory getFactory() {
        if (sessionFactory == null) {
            try {
                sessionFactory = new Configuration().configure().buildSessionFactory();
            } catch (Throwable ex) {
                throw new ExceptionInInitializerError(ex);
            }
        }
        return sessionFactory;
    }
}
To create new user you can put directly in doGet
package com.tabvn.servlet;

import com.tabvn.HibernateUtil;
import com.tabvn.model.User;
import org.hibernate.Session;
import org.hibernate.Transaction;

import javax.servlet.ServletException;
import javax.servlet.annotation.WebServlet;
import javax.servlet.http.HttpServlet;
import javax.servlet.http.HttpServletRequest;
import javax.servlet.http.HttpServletResponse;
import java.io.IOException;
import java.sql.Timestamp;

@WebServlet("/users")
public class UserServlet extends HttpServlet {
    protected void doPost(HttpServletRequest request, HttpServletResponse response) throws ServletException, IOException {

    }

    protected void doGet(HttpServletRequest request, HttpServletResponse response) throws ServletException, IOException {
        User user = new User();
        user.setFirstName("Toan");
        user.setLastName("Nguyen");
        user.setEmail("toan@tabvn.com");
        user.setPassword("admin");
        user.setCreated(new Timestamp(System.currentTimeMillis()));

        Session session = HibernateUtil.getFactory().openSession();
        Transaction transaction = session.beginTransaction();
        session.save(user);
        transaction.commit();
        session.close();
        request.getRequestDispatcher("WEB-INF/templates/users.jsp").forward(request, response);
    }
}
This is sample code to create new user directly from entity model. You may need create UserDao and Service to design better way for insert,read,list .
User user = new User();
        user.setFirstName("Toan");
        user.setLastName("Nguyen");
        user.setEmail("toan@tabvn.com");
        user.setPassword("admin");
        user.setCreated(new Timestamp(System.currentTimeMillis()));

        Session session = HibernateUtil.getFactory().openSession();
        Transaction transaction = session.beginTransaction();
        session.save(user);
        transaction.commit();
        session.close();